If you’re craving a sweet treat but don’t want to fuss over a long list of ingredients, this recipe for 3-ingredient peanut butter cookies is your perfect solution. With just a cup of oat flour, a cup of creamy peanut butter, and a dash of coconut sugar, you can whip up a batch of delicious, chewy cookies in no time. And if you’re feeling a little adventurous, a teaspoon of vanilla extract can be your secret flavor enhancer!
3-Ingredient Peanut Butter Cookies Ingredient Insights
- Oat Flour: A gluten-free favorite that adds a mild, nutty flavor and a tender texture to the cookies. It’s also a healthier alternative to white flour, packing extra fiber and nutrients.
- Creamy Peanut Butter: The star of the show! It provides the fat and flavor base for the cookies. For the best results, use a creamy peanut butter that’s not too oily.
- Coconut Sugar: A great alternative to refined sugars, coconut sugar adds a caramel-like sweetness without spiking your blood sugar levels as much. Brown sugar is a good substitute if coconut sugar isn’t available.
- Vanilla Extract (Optional): Just a teaspoon can elevate the overall flavor of your cookies, adding a warm and comforting aroma.
Tips for Perfect 3-ingredient Peanut Butter Cookies
- Consistency is Key: Ensure your peanut butter isn’t too oily; otherwise, your cookies might spread too much or become greasy.
- Mix Well: Combine the ingredients thoroughly to avoid unevenly cooked spots.
- Chill the Dough: If you have time, chilling the dough for about 30 minutes before baking helps control the spread of the cookies and intensifies the flavors.
- Don’t Overbake: These cookies can go from perfect to overdone quickly. They usually need just 8-10 minutes in the oven, and they’ll firm up as they cool.

Serving Suggestions
Serve these peanut butter delights with a glass of plant milk, or for a grown-up twist, pair them with a strong black coffee. They also make great bases for homemade ice cream sandwiches!
3-ingredient Peanut Butter Cookies Recipe Variations
- Add-Ins: Stir in chocolate chips, chopped nuts, or dried fruit to add texture and flavor.
- Vegan Adjustments: Use a vegan peanut butter and substitute coconut sugar with a vegan alternative if needed.
- Spice It Up: Add a pinch of cinnamon or nutmeg for a spicy twist.
Frequently Asked Questions about 3-ingredient Peanut Butter Cookies
- Can I use natural peanut butter for this recipe? – Yes, you can use natural peanut butter, but there are a couple of things to consider. Natural peanut butter tends to separate, so you need to stir it thoroughly before measuring to ensure that the oil is well incorporated. Keep in mind that natural peanut butter can make the cookie dough a bit more oily or dry, depending on the brand. If the dough seems too oily, add a bit more oat flour; if too dry, a small spoonful of peanut butter can help.
- Is there a way to make these cookies sugar-free? – Yes, you can make these cookies with a sugar-free sweetener. Look for granulated sweeteners that can replace coconut or brown sugar on a 1:1 basis, like erythritol or stevia blends designed for baking. However, altering the type of sweetener can change the texture and taste, so you may need to experiment a bit to get the result you like.
- How can I store these cookies, and how long will they last? – To store the cookies, place them in an airtight container at room temperature. They will typically last for up to a week. If you prefer them a bit chewier, you can store them in the refrigerator where they’ll last a bit longer, up to 10 days. For longer storage, you can freeze the cookies for up to 3 months. Just make sure to layer them with parchment paper in the container to prevent them from sticking together, and let them thaw at room temperature before serving.
- Are these cookies gluten-free? – Yes, as long as the oat flour you use is certified gluten-free, these cookies are gluten-free. Oats naturally don’t contain gluten but can be contaminated during processing. Always check the packaging to ensure it’s labeled gluten-free, especially if you’re serving them to someone with gluten sensitivities or celiac disease.
- Can I add chocolate chips or other mix-ins to these cookies? – Absolutely! Adding chocolate chips, chopped nuts, or dried fruits can add extra flavor and texture to your cookies. Just stir your chosen add-ins into the cookie dough before scooping and baking. Keep in mind that adding too many mix-ins can affect how the cookies hold together, so start with a small amount, such as a quarter cup, and adjust based on the dough’s consistency.
Equipment Needed
- Mixing bowl
- Measuring cups and spoons
- Baking sheet lined with parchment paper
- Oven
This simple 3-ingredient peanut butter cookie recipe is more than just a quick way to satisfy your sweet tooth. It’s a versatile base for many creative cookie adventures! Whether you stick to the basic recipe or throw in your own twist, these cookies are sure to delight. Happy baking!
More dessert recipes:
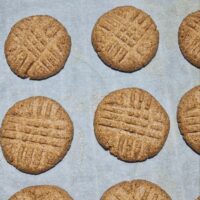
3-Ingredient Peanut Butter Cookies
These 3-ingredient peanut butter cookies offer a splendid blend of simplicity and flavor, making them a perfect choice for busy bakers and beginners alike. Whether you're looking to whip up a quick snack for the kids, impress at a last-minute gathering, or just indulge in a little homemade treat, this recipe ticks all the boxes.
Ingredients
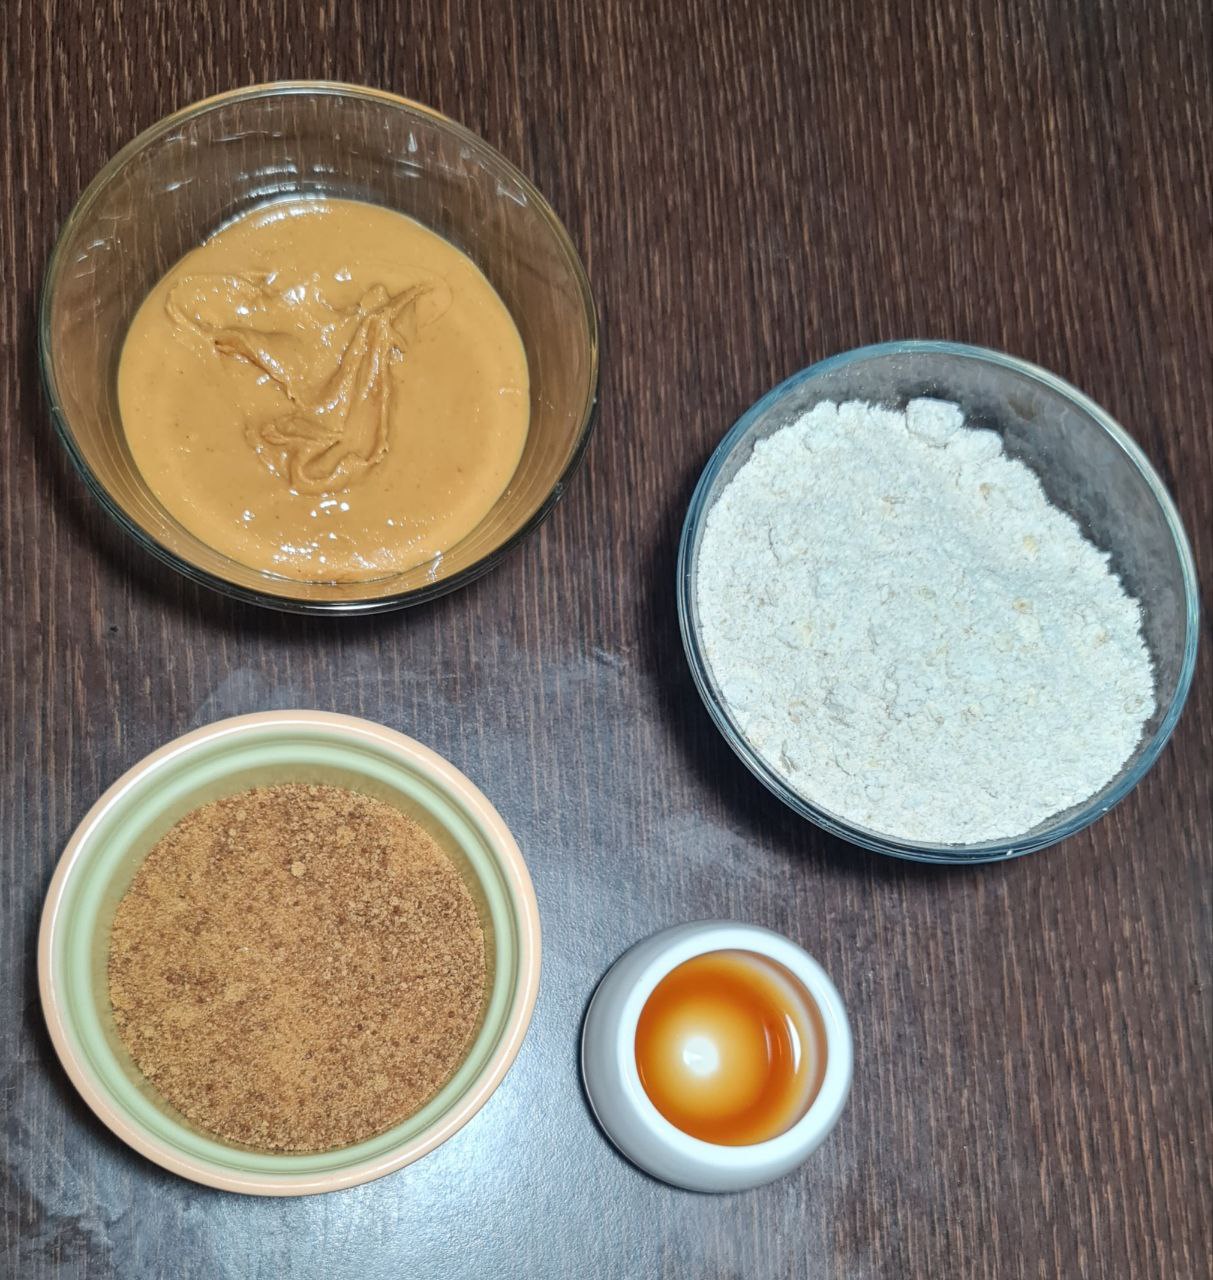
- 1 cup oat flour
- 1 cup creamy peanut butter (make sure it's not too oily)
- 1/3 cup coconut sugar (or substitute with brown sugar)
- 1 teaspoon vanilla extract (optional, but recommended)
Instructions
- Preheat your oven to 350°F (175°C). Line a baking sheet with parchment paper to prevent the cookies from sticking.
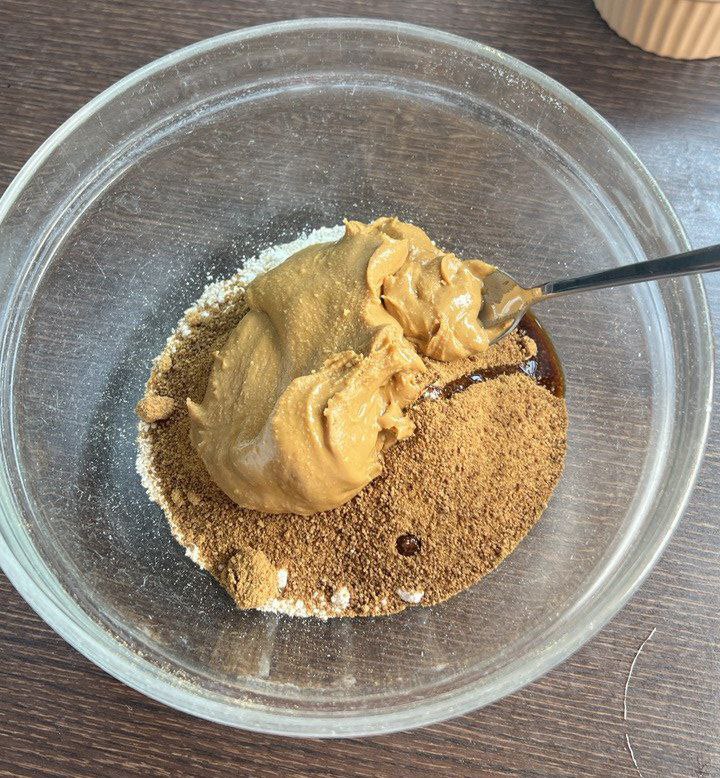
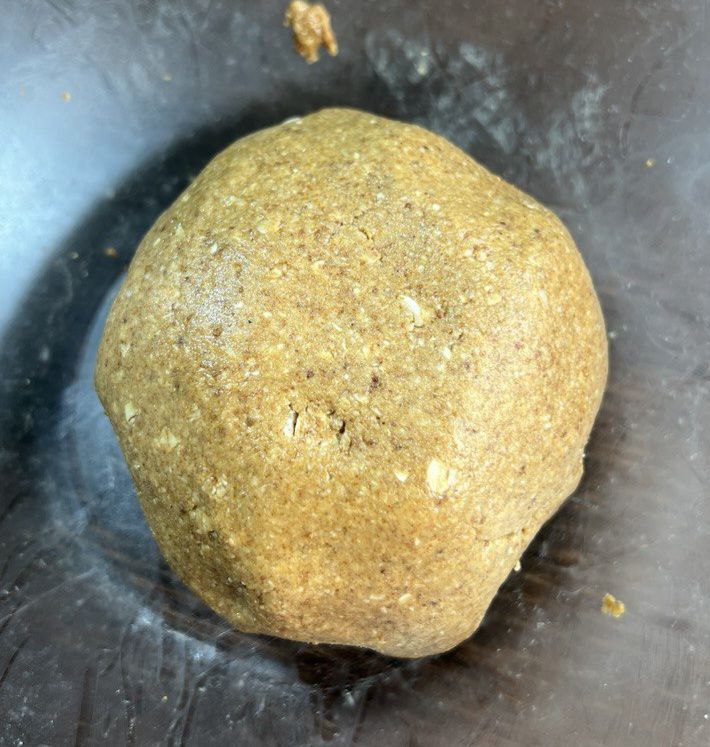
- In a large mixing bowl, combine the oat flour, creamy peanut butter, coconut sugar, and vanilla extract (if using). Stir everything together until the mixture is smooth and well combined. The dough should be thick and moldable; if it feels too sticky, add a little more oat flour.
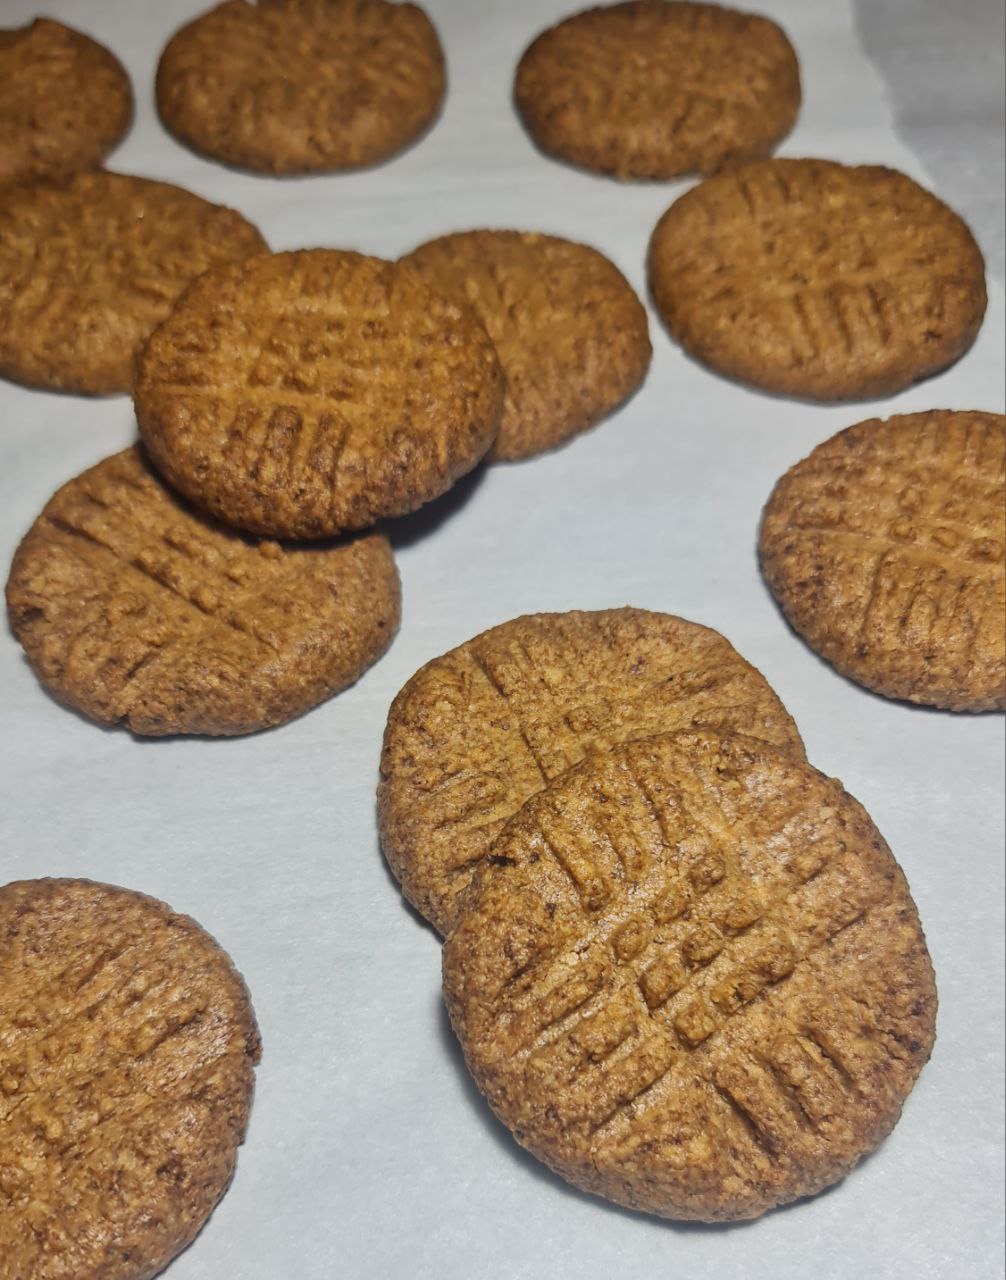
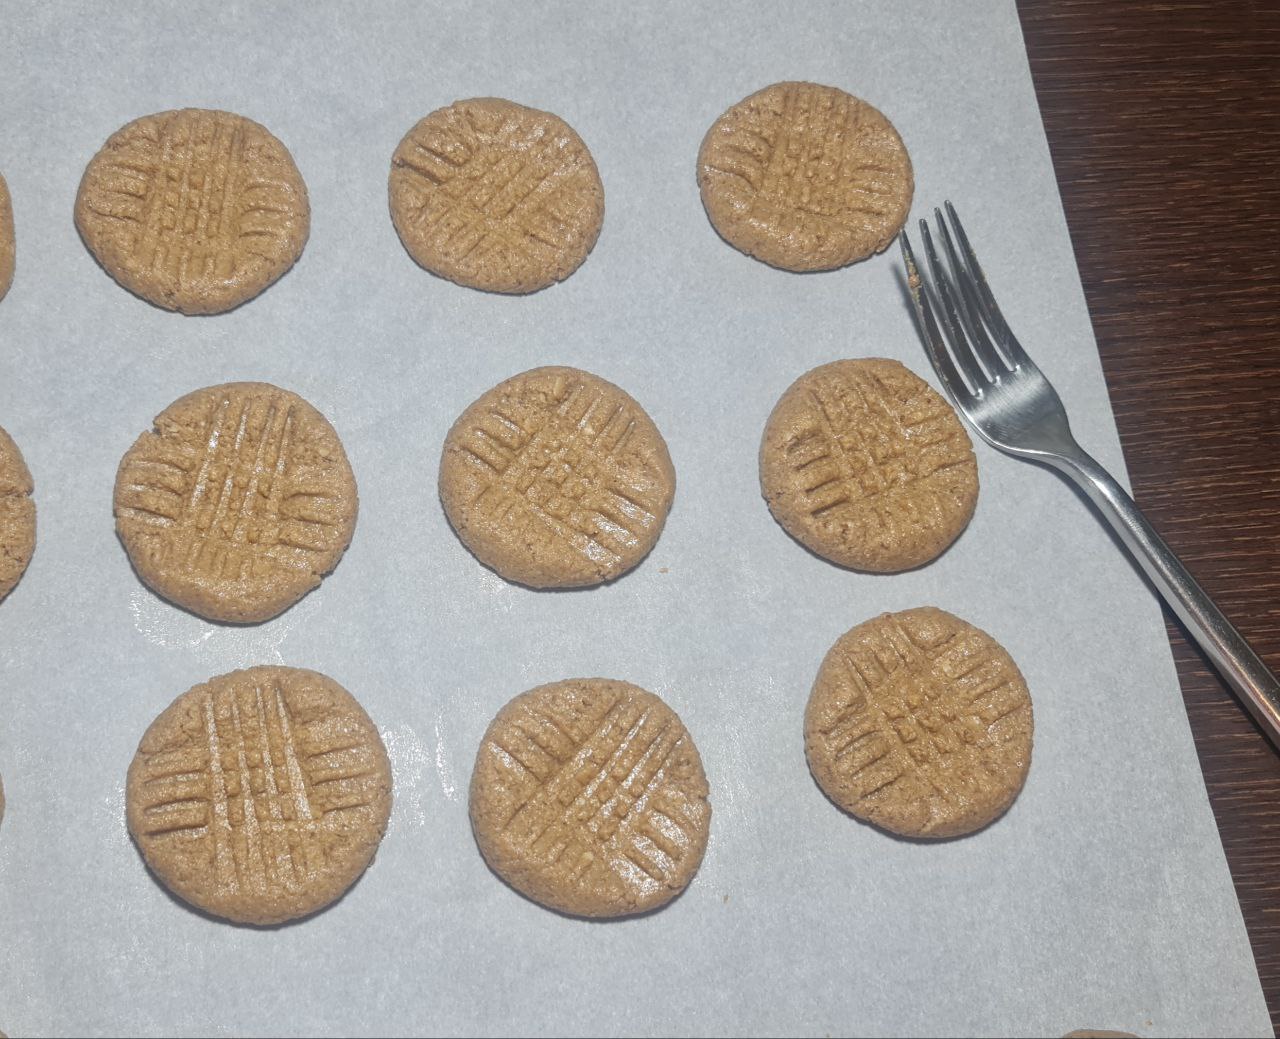
- Using a spoon, scoop out the dough and roll into balls about the size of a tablespoon. Place them on the prepared baking sheet, spaced about 2 inches apart. Gently flatten each ball with the back of a fork, creating a crisscross pattern.
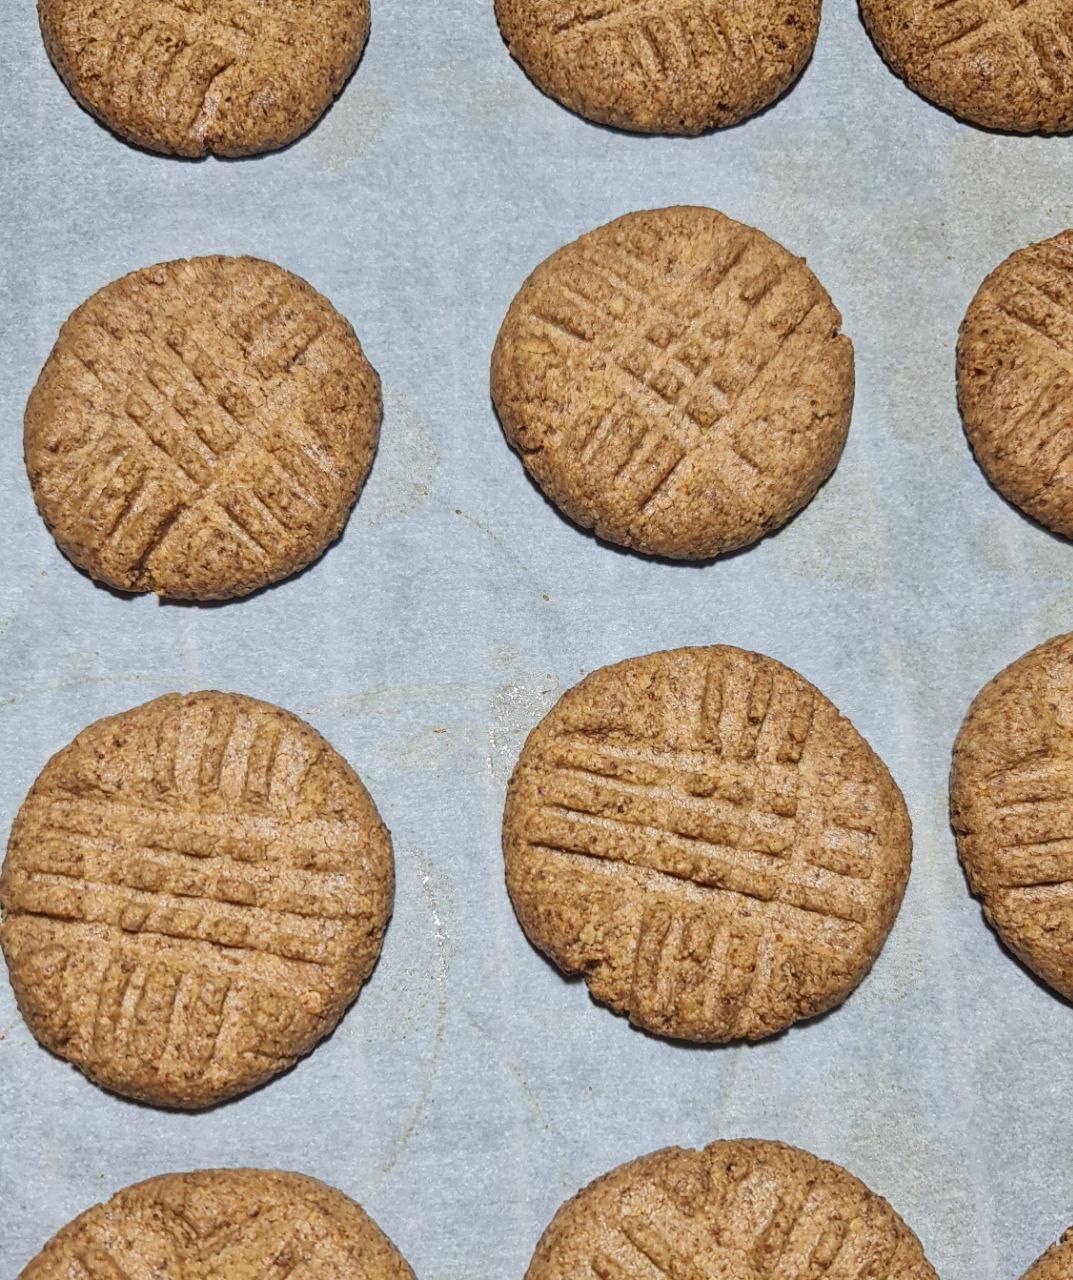
- Place the baking sheet in the preheated oven and bake for 8-10 minutes, or until the edges are slightly golden. Remember, they will continue to harden as they cool, so it's crucial not to overbake them.
- After removing from the oven, let the cookies cool on the baking sheet for about 5 minutes. Transfer them to a wire rack to cool completely.
- Once cooled, serve your homemade peanut butter cookies with a drink of your choice, or store them in an airtight container to keep them fresh.
Notes
- Use precise measurements for each ingredient to ensure the best texture and flavor balance in your cookies. Slight deviations, especially with the peanut butter and oat flour, can significantly affect the dough's consistency and the cookies' final outcome.
- Ensure your peanut butter is at room temperature to mix easily and evenly with the other ingredients. This helps prevent the dough from becoming too stiff or too oily.
- Since these cookies can go from perfectly done to overbaked in a matter of minutes, it’s important to start checking them at the 8-minute mark. Look for slight golden edges as a sign they’re ready, and remember they'll continue to set as they cool on the baking sheet.