Corn on the cob is a quintessential summer treat that conjures up images of backyard barbecues, family gatherings, and warm evenings. But one of the most common questions asked in kitchens everywhere is, “How long to boil corn on the cob?” Getting the timing right is crucial for achieving that perfect balance of tender and crisp. In this comprehensive guide, we’ll delve into everything you need to know to boil corn on the cob to perfection.
Why Knowing How Long to Boil Corn on the Cob Is Crucial
Timing is everything when it comes to boiling corn on the cob. Too little time in the pot and you’ll end up with kernels that are too tough and starchy. Too much time, and you’ll lose the vibrant sweetness and crunch that makes fresh corn so delightful. The goal is to achieve a texture that’s tender enough to bite into easily but still retains a bit of snap. Proper timing also ensures that the natural sugars in the corn are highlighted, providing a sweet, juicy bite.
Factors to Consider When Determining How Long to Boil Corn on the Cob
Several factors influence how long you should boil corn on the cob. These include the type of corn, its freshness, and even personal preference. Here’s a closer look at these factors:
Type of Corn
- Sweet Corn: This is the most common variety found in supermarkets and is usually the quickest to cook. Sweet corn typically takes about 5-7 minutes to boil.
- Field Corn: Often used for animal feed and industrial purposes, field corn is much tougher and requires a longer cooking time, typically around 10-15 minutes.
- Baby Corn: These tiny ears of corn are often used in Asian cuisine and boil much faster, usually within 2-4 minutes.
Freshness
The fresher the corn, the less time it needs to cook. Fresh corn has a higher moisture content, which helps it cook more quickly and evenly. Ideally, you should cook corn on the cob within a day or two of purchase for the best results.
Size of the Ears
Larger ears of corn will naturally take longer to cook than smaller ones. If you’re boiling a particularly large ear of corn, you might need to add an extra minute or two to the boiling time.
Personal Preference
Some people prefer their corn slightly more tender, while others like it with a bit more crunch. As you gain experience, you’ll learn to adjust the boiling time to suit your taste.
Tips for Perfectly Timing How Long to Boil Corn on the Cob
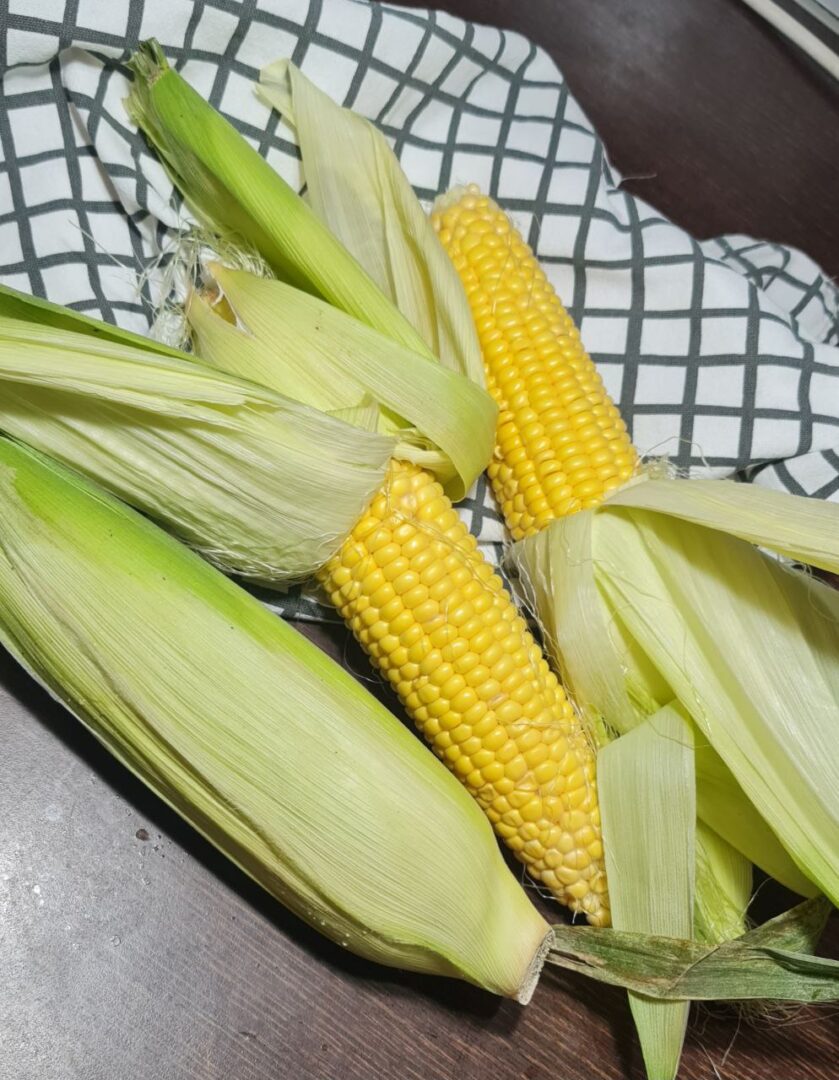
- Start with Fresh Corn – For the best flavor and texture, start with the freshest corn you can find. Look for ears with bright green husks that are tightly wrapped around the cob. The kernels should be plump and arranged in tightly packed rows.
- Use Plenty of Water – When boiling corn on the cob, use a large pot and plenty of water. This ensures that the corn is fully submerged and cooks evenly. Add a pinch of salt to the water to enhance the corn’s natural sweetness.
- Don’t Overcrowd the Pot – If you’re cooking multiple ears of corn, make sure not to overcrowd the pot. Overcrowding can lower the water temperature and result in uneven cooking. If necessary, cook the corn in batches.
- Monitor the Boiling Time – Set a timer as soon as you add the corn to the boiling water. This will help you avoid overcooking or undercooking the corn. For sweet corn, aim for 5-7 minutes. If you’re unsure, you can always test an ear of corn by piercing a kernel with a fork – it should be tender but still firm.
- Ice Bath for Crunch – If you prefer your corn with a bit more crunch, consider plunging the ears into an ice bath immediately after boiling. This stops the cooking process and helps maintain a crisp texture.
Enhancing Flavor After Knowing How Long to Boil Corn on the Cob
- Vegan Butter and Salt – The classic combination of butter and salt is a timeless way to enhance the flavor of boiled corn on the cob. Simply slather the hot corn with butter and sprinkle with salt for a delicious, simple treat.
- Herb Vegan Butter – For an elevated twist, mix softened butter with fresh herbs like parsley, cilantro, or chives. Spread this herb butter over the hot corn for a burst of fresh, vibrant flavor.
- Spices and Seasonings – Experiment with different spices and seasonings to add variety to your corn on the cob. Popular choices include paprika, chili powder, garlic powder, and even a squeeze of lime juice.
- Vegan Cheese – Grated vegan cheese can add a rich, savory element to boiled corn. Try sprinkling grated egan cheese or crumbled vegan feta over the hot corn for a deliciously indulgent treat.
- Vegan Mayonnaise and Vegan Cotija – For a Mexican-inspired twist, spread a thin layer of vegan mayonnaise over the hot corn and sprinkle with cotija cheese and chili powder. This combination, known as elote, is a street food favorite.
Common Mistakes When Boiling Corn and How Long to Boil Corn on the Cob
- Overcooking – One of the most common mistakes is overcooking the corn. This results in mushy kernels and a loss of sweetness. Stick to the recommended boiling times and use a timer to avoid this pitfall.
- Starting with Cold Water – Always add the corn to boiling water rather than starting with cold water. Adding corn to cold water can result in uneven cooking and longer boiling times.
- Not Removing the Silk – While the husk can be left on during boiling for added flavor, it’s important to remove the silk. The silk can become tough and stringy if left on the cob during cooking.
- Using Old Corn – Older corn loses moisture and sweetness, resulting in less flavorful and tougher kernels. Always try to use the freshest corn available.
Alternatives to Boiling and How Long to Boil Corn on the Cob
- Grilling – Grilling corn on the cob imparts a smoky, charred flavor that’s incredibly delicious. Simply husk the corn and place it directly on the grill, turning occasionally, for about 10-15 minutes.
- Steaming – Steaming is a gentler cooking method that can help preserve the corn’s natural sweetness and texture. Place the corn in a steamer basket over boiling water and steam for 5-7 minutes.
- Microwaving – For a quick and easy option, microwave corn on the cob. Place the corn (with husks on) in the microwave and cook on high for 4-5 minutes. Let it cool slightly, then peel off the husks and silk.
- Roasting – Roasting corn in the oven gives it a caramelized, sweet flavor. Preheat your oven to 400°F, place husked corn on a baking sheet, and roast for 20-25 minutes, turning halfway through.
Serving Suggestions After Learning How Long to Boil Corn on the Cob
- Classic Buttered Corn – Serve the boiled corn hot with a generous amount of vegan butter and a sprinkle of salt. This simple preparation lets the natural sweetness of the corn shine through.
- Corn Salad – Cut the kernels off the cob and mix with diced tomatoes, cucumbers, red onion, and a vinaigrette for a fresh, summery salad.
- Corn Chowder – Use boiled corn to make a comforting corn chowder. Combine the kernels with potatoes, onions, and vegan cream for a hearty, satisfying soup.
- Corn Salsa – Mix boiled corn kernels with diced bell peppers, red onion, cilantro, lime juice, and a touch of chili powder for a vibrant and flavorful salsa.
- Corn and Avocado Toast – Top toasted bread with mashed avocado, boiled corn kernels, and a sprinkle of sea salt for a delicious and nutritious breakfast or snack.
Storing Boiled Corn: How Long to Boil Corn on the Cob and Preserve Freshness
- Refrigeration – If you have leftover boiled corn on the cob, let it cool completely before storing. Wrap each ear tightly in aluminum foil or plastic wrap, or place them in an airtight container. Store in the refrigerator for up to 3-5 days.
- Freezing – For longer storage, you can freeze boiled corn. After cooling, wrap each ear in plastic wrap, then in aluminum foil to prevent freezer burn. Place the wrapped ears in a freezer-safe bag or container and store them in the freezer for up to 6 months. To reheat, thaw in the refrigerator overnight and warm up in boiling water for 2-3 minutes or in the microwave.
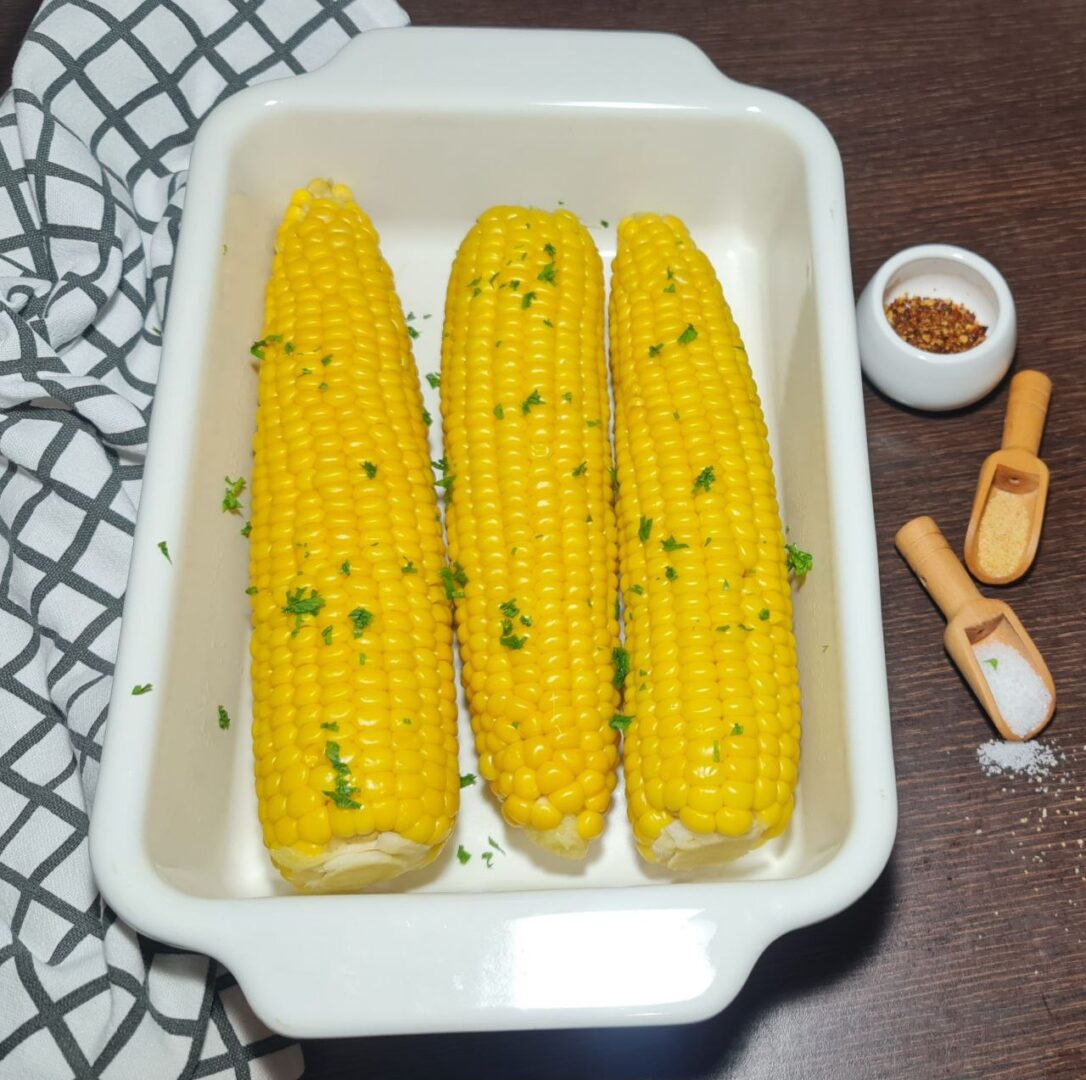
Essential Equipment for Boiling Corn: How Long to Boil Corn on the Cob
- Large Pot – A large, deep pot is essential for boiling corn on the cob. It should be big enough to fully submerge the ears of corn in water.
- Tongs – Tongs are useful for safely adding and removing the corn from the boiling water.
- Timer – A timer is crucial for ensuring that you don’t overcook or undercook the corn. Set it as soon as you add the corn to the pot.
- Steamer Basket (Optional) – If you prefer steaming your corn, a steamer basket that fits into your pot will be needed.
- Ice Bath (Optional) – For those who like their corn with a bit more crunch, an ice bath helps to stop the cooking process and preserve the texture.
Boiling corn on the cob is a simple yet precise process that, when done correctly, results in a delicious and satisfying dish. By considering factors like the type of corn, its freshness, and your personal preferences, you can perfect your boiling technique. Remember to avoid common mistakes, experiment with different flavor enhancements, and try alternative cooking methods to keep things interesting. With the right equipment and a bit of practice, you’ll be serving up perfectly boiled corn on the cob all summer long.
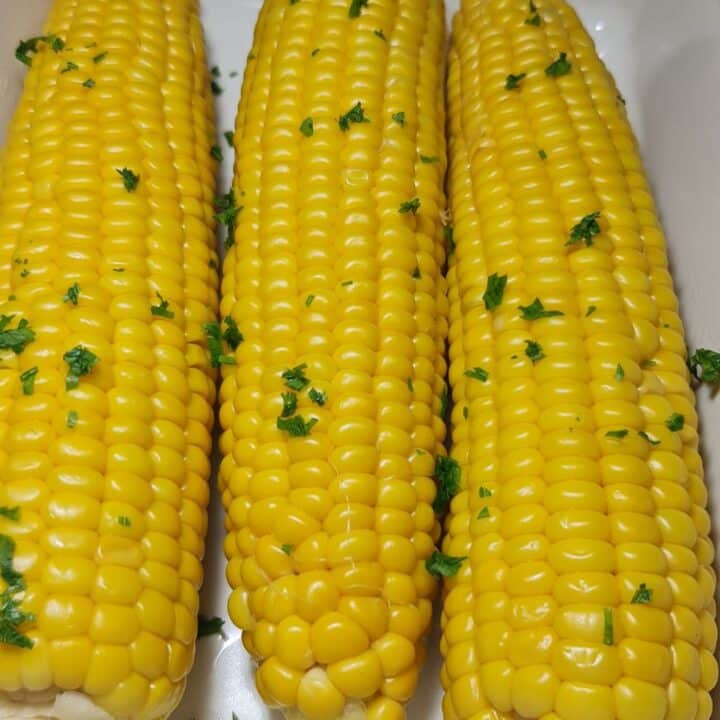
How Long to Boil Corn on the Cob
Boiling corn on the cob to perfection involves selecting fresh ears, boiling them for just the right amount of time (typically 5-7 minutes for sweet corn), and seasoning them to taste. This guide provides step-by-step instructions, including how to prepare the corn, boil it evenly, and enhance its flavor with butter, salt, and optional seasonings. Whether you like your corn tender or with a bit of crunch, these tips ensure a delicious, sweet, and juicy result every time.
Ingredients
- 4 ears of fresh corn on the cob
- Water
- Salt (optional)
- Vegan butter (optional)
- Additional seasonings (optional, such as pepper, paprika, or garlic powder)
Instructions
- Start by removing the husks and silk from the corn. Pull down the green husks and snap them off at the base. Remove as much of the silk as possible; you can use a brush or a damp paper towel to help get rid of any remaining strands.
- If the corn is too large for your pot, use a knife to trim the ends to fit.
- Fill a large pot with enough water to fully submerge the ears of corn. Leave some space at the top to prevent the water from boiling over.
- Adding a pinch of salt to the water can enhance the natural sweetness of the corn.
- Place the pot on the stove over high heat and bring the water to a rolling boil.
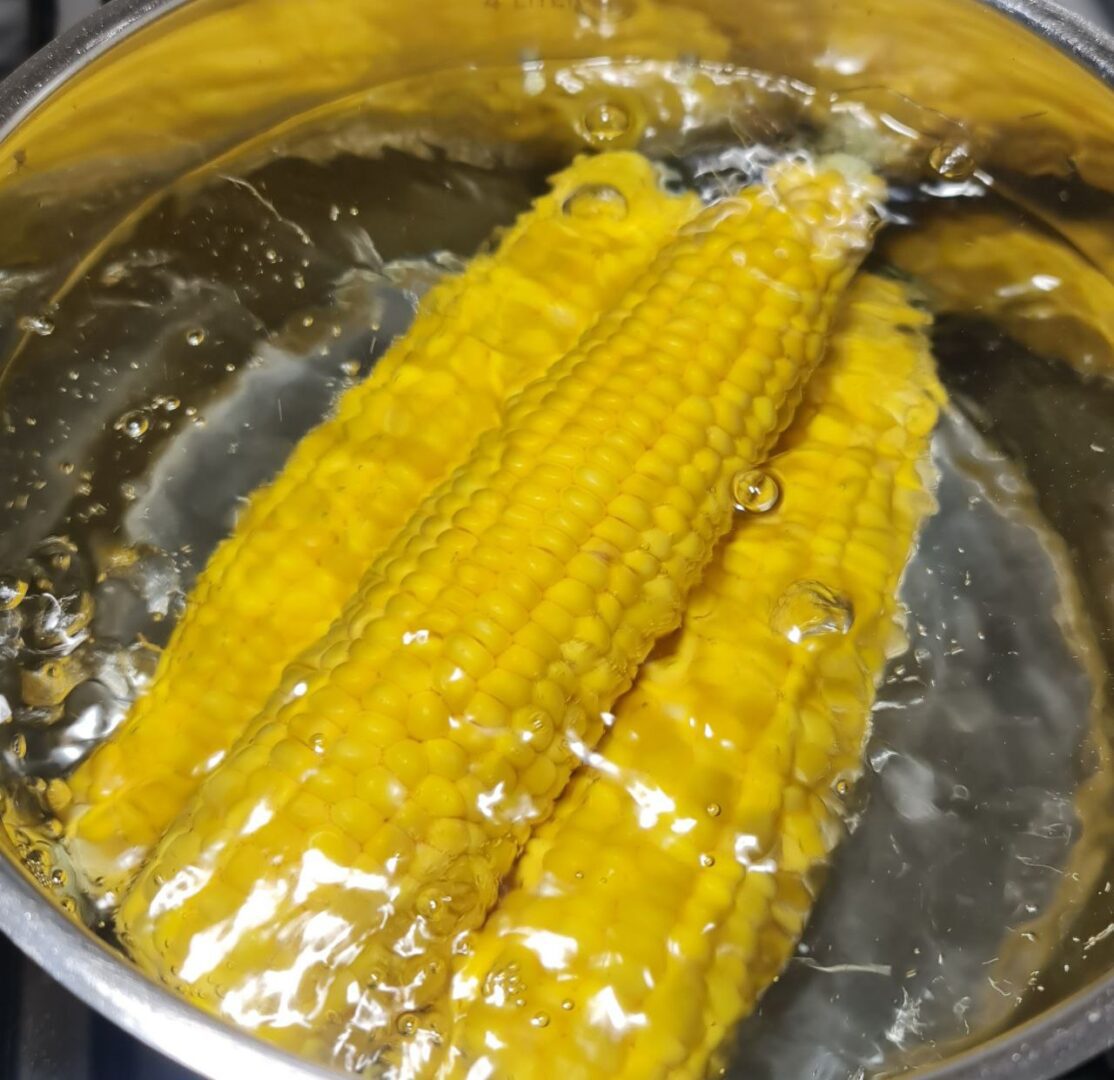
- Once the water is boiling, carefully add the ears of corn using tongs to avoid splashing.
- Set a timer for 5-7 minutes for sweet corn. For other types of corn, such as field corn, you may need to boil for 10-15 minutes. Baby corn typically needs just 2-4 minutes.
- Let the corn boil uncovered. Occasionally stir the corn to ensure even cooking.
- After the timer goes off, use tongs to remove an ear of corn and pierce a kernel with a fork. It should be tender but still slightly firm. If needed, boil for another 1-2 minutes and check again.
- If you prefer your corn to have a bit more crunch, prepare a large bowl with ice water while the corn is boiling.
- Immediately after boiling, transfer the corn to the ice bath to stop the cooking process and preserve the texture. Let it sit for about 2-3 minutes before serving.
- While the corn is still hot, slather it with vegan butter and sprinkle with salt. You can also add other seasonings to taste, such as pepper, paprika, or garlic powder.
- Serve the corn on the cob hot and enjoy!
Notes
- The fresher the corn, the sweeter and juicier it will be. Try to cook corn within a day or two of purchase.
- Always add the corn to boiling water rather than starting with cold water to ensure even cooking.
- Use a timer to avoid overcooking or undercooking. Adjust the time based on the size of the ears and your texture preference.
More corn recipes:
