Summer brings a bounty of fresh produce, and one vegetable that truly shines during this season is zucchini. Light, versatile, and incredibly delicious, zucchini can be the star of many summer dishes. One of the best ways to enjoy this seasonal vegetable is in a simple yet flavorful garlic zucchini recipe. This dish is perfect for summer meals, whether you’re looking for a quick side dish, a light lunch, or a savory addition to your barbecue spread.
In this blog post, we will delve into the best quick and easy garlic zucchini recipe, explore ingredient notes, share tips for making the best zucchini, suggest variations and additions, offer storage advice, answer frequently asked questions, and discuss the essential equipment you need. Let’s get started on creating this delectable summer delight!
Quick and Easy Garlic Zucchini Recipe Ingredient Notes
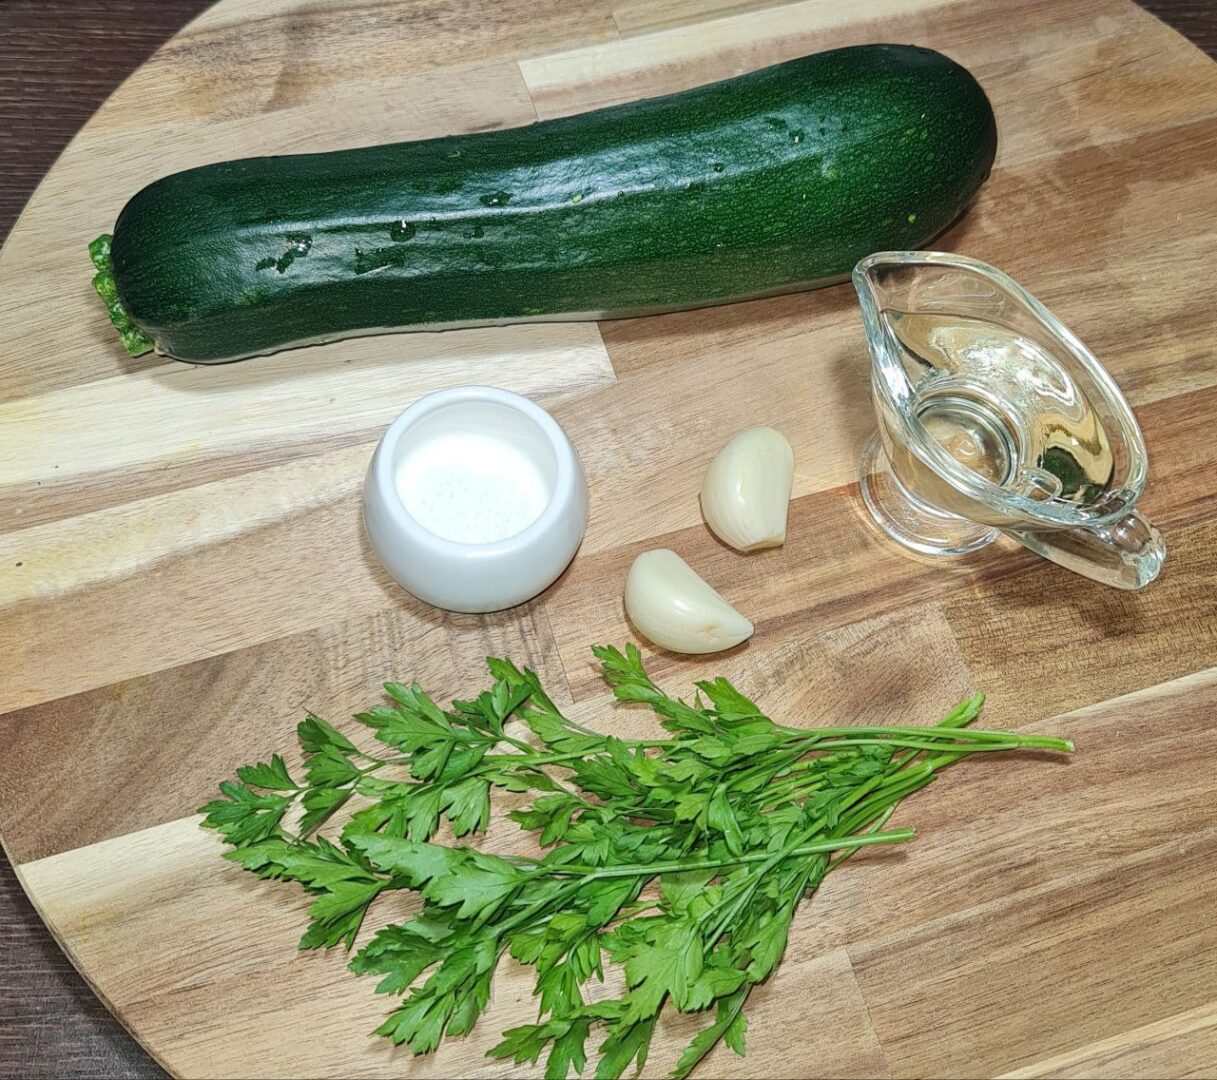
To make the best garlic zucchini, you will need the following ingredients:
- Zucchini: 1-2 medium-sized zucchinis are ideal. Look for firm, fresh zucchinis with a vibrant green color.
- Garlic: Use 2 cloves of fresh garlic for an aromatic and flavorful punch.
- Salt: A pinch of salt enhances the natural flavors of the zucchini and garlic.
- Olive Oil: 2 tablespoons of good-quality olive oil are essential for frying the zucchini to golden perfection.
- Parsley: Fresh parsley adds a bright, herbaceous note to the dish.
- Lemon Juice: A splash of lemon juice provides a zesty balance to the richness of the olive oil and garlic.
Ingredient Highlights:
- Zucchini: A low-calorie vegetable rich in vitamins A and C, potassium, and fiber.
- Garlic: Known for its distinctive flavor and numerous health benefits, including boosting immunity and reducing inflammation.
- Olive Oil: A heart-healthy fat that imparts a lovely flavor and helps in cooking the zucchini to a crisp texture.
- Parsley: Adds freshness and a pop of color, while also being a good source of vitamins A, C, and K.
- Lemon Juice: Enhances the flavors and adds a refreshing citrus note.
Tips for Making the Best Quick and Easy Garlic Zucchini Recipe
- Choose Fresh Zucchini: Fresh zucchini has a better texture and flavor. Opt for zucchinis that are firm and free of blemishes.
- Even Slicing: Cut the zucchinis into thick circles, about 1/2 inch thick. Thicker slices help retain the juiciness of the zucchini.
- Hot Pan: Make sure the frying pan is hot before adding the zucchini slices.
- Don’t Overcrowd the Pan: Fry the zucchini in batches if necessary to avoid overcrowding the pan, which can cause steaming instead of frying.
- Golden Brown Perfection: Fry the zucchini until golden brown on both sides for the best flavor and texture.
- Fresh Garlic: Use fresh garlic for the most aromatic and potent flavor. Mince it finely for even distribution.
- Fresh Parsley: Chop the parsley just before using to maintain its bright green color and fresh taste.
- Lemon Juice: Add the lemon juice just before serving to keep its vibrant flavor intact.
Quick and Easy Garlic Zucchini Recipe Variations and Additions Ideas
The beauty of this garlic zucchini recipe lies in its simplicity, but there are numerous ways to customize and enhance it:
- Cheese: Sprinkle grated vegan cheese over the zucchini for a cheesy twist.
- Spices: Add a pinch of red pepper flakes for a bit of heat, or sprinkle some smoked paprika for a smoky flavor.
- Herbs: Experiment with other fresh herbs like basil, mint, or dill for a different flavor profile.
- Nuts: Toasted pine nuts or slivered almonds can add a delightful crunch.
- Tomatoes: Add halved cherry tomatoes for a burst of sweetness and color.
- Vegan Yogurt Sauce: Serve the zucchini with a side of garlic yogurt sauce for a creamy and tangy complement.
- Balsamic Glaze: Drizzle a bit of balsamic glaze over the zucchini for a touch of sweetness and acidity.
- Additional Veggies: Mix in other summer vegetables like bell peppers or eggplant for a more robust dish.
Quick and Easy Garlic Zucchini Recipe Storing
If you have leftovers, storing the garlic zucchini properly will ensure it retains its flavor and texture:
- Refrigeration: Store the garlic zucchini in an airtight container in the refrigerator for up to 3 days.
- Reheating: Reheat in a skillet over medium heat to revive the crisp texture, or enjoy cold as part of a salad.
- Freezing: While it’s best enjoyed fresh, you can freeze fried zucchini slices. Place them in a single layer on a baking sheet to freeze, then transfer to a freezer bag. Reheat directly from frozen in a hot skillet.
Frequently Asked Questions about Quick and Easy Garlic Zucchini Recipe
Q: Can I use a different type of oil? A: Yes, you can use oils like avocado oil or grapeseed oil, which have high smoke points suitable for frying.
Q: Can I bake the zucchini instead of frying? A: Absolutely! Arrange the zucchini slices on a baking sheet, drizzle with olive oil, and bake at 425°F (220°C) for about 15-20 minutes, flipping halfway through.
Q: What can I serve with garlic zucchini? A: Garlic zucchini pairs well with grilled meats, fish, pasta dishes, or as part of a Mediterranean mezze platter.
Q: How do I prevent the zucchini from getting soggy? A: Ensure the pan is hot before adding the zucchini and avoid overcrowding the pan. Salting the zucchini slices beforehand also helps remove excess moisture.
Q: Can I make this dish ahead of time? A: Yes, you can prepare the dish a few hours in advance. Add the garlic-parsley mixture just before serving to maintain freshness.
Quick and Easy Garlic Zucchini Recipe Essential Equipment
To make this garlic zucchini recipe, you’ll need a few basic kitchen tools:
- Cutting Board and Knife: For slicing the zucchini and chopping the garlic and parsley.
- Large Frying Pan: A good-quality frying pan ensures even cooking and browning.
- Spatula: For flipping the zucchini slices.
- Mixing Bowl: To mix the garlic, parsley, and lemon juice.
- Paper Towels: For draining excess oil from the fried zucchini.
- Serving Platter: To present the finished dish beautifully.
This garlic zucchini recipe is a celebration of summer’s freshest ingredients, combining the delicate flavor of zucchini with the robust taste of garlic and the bright notes of parsley and lemon. It’s a versatile dish that can be enjoyed in many ways, whether as a side dish, appetizer, or part of a larger meal.
By following the tips and suggestions in this blog post, you can create a dish that’s not only delicious but also highlights the simplicity and beauty of summer produce. Whether you’re hosting a barbecue, preparing a family dinner, or simply looking for a quick and healthy snack, this garlic zucchini recipe is sure to be a hit.
So grab some fresh zucchinis, heat up your frying pan, and get ready to enjoy the best garlic zucchini you’ve ever tasted. Happy cooking!
More Zucchini Recipes:
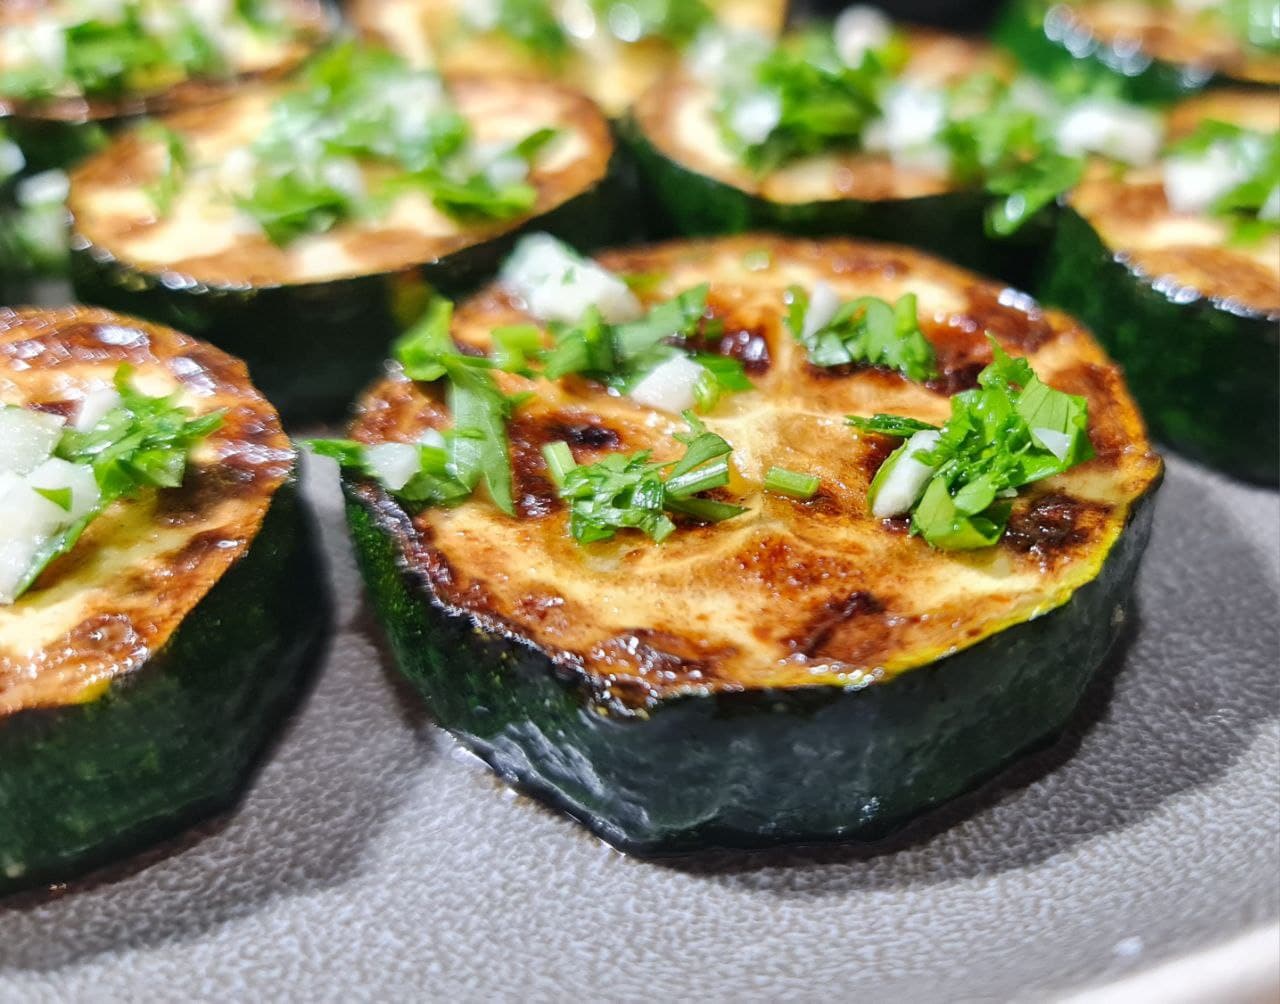
Garlic Zucchini Recipe
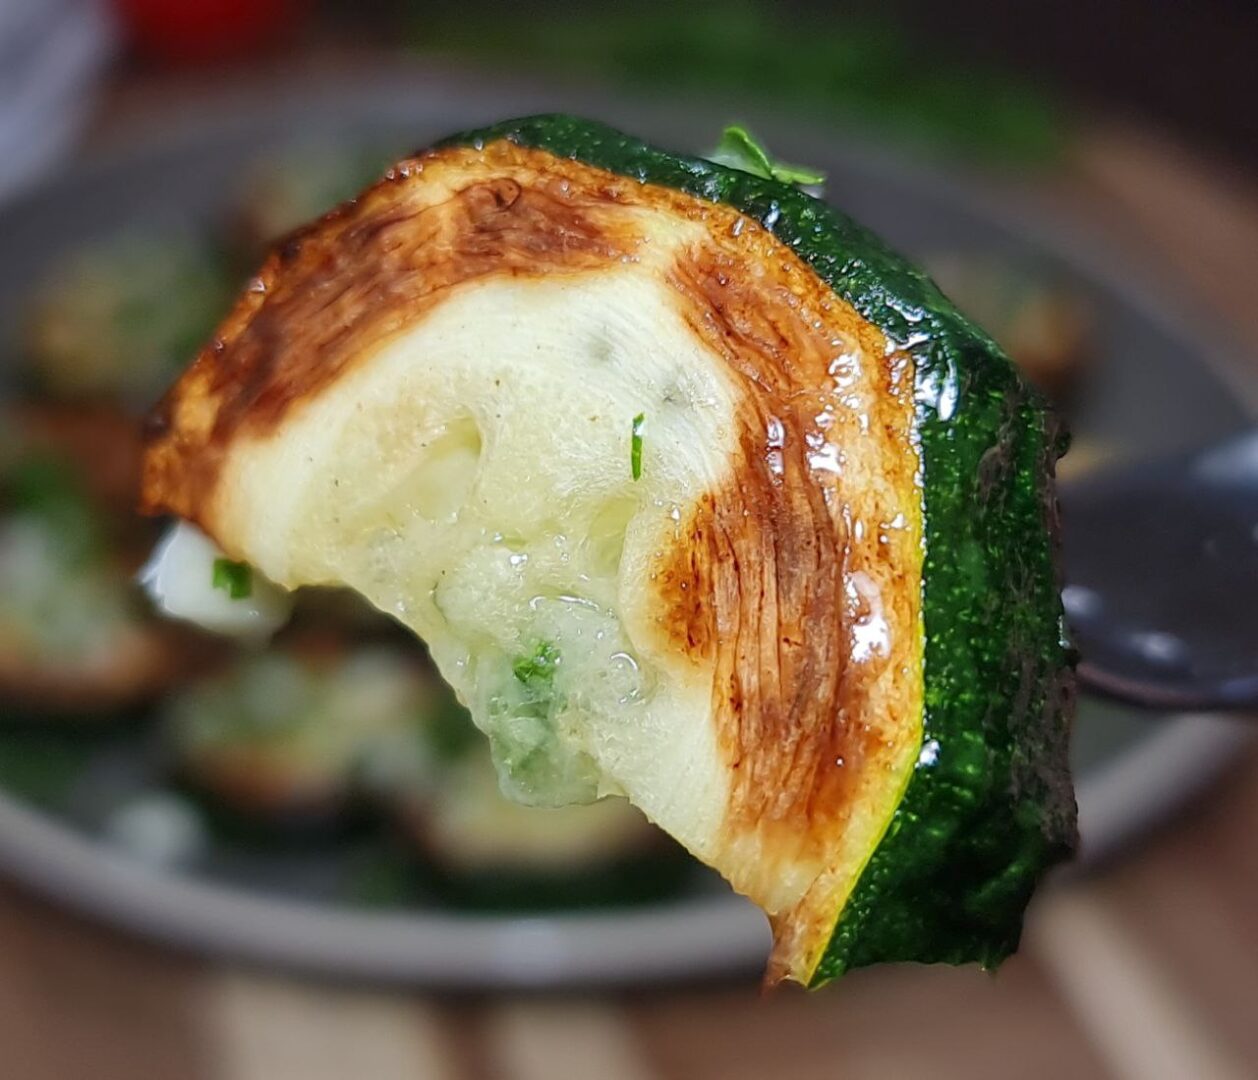
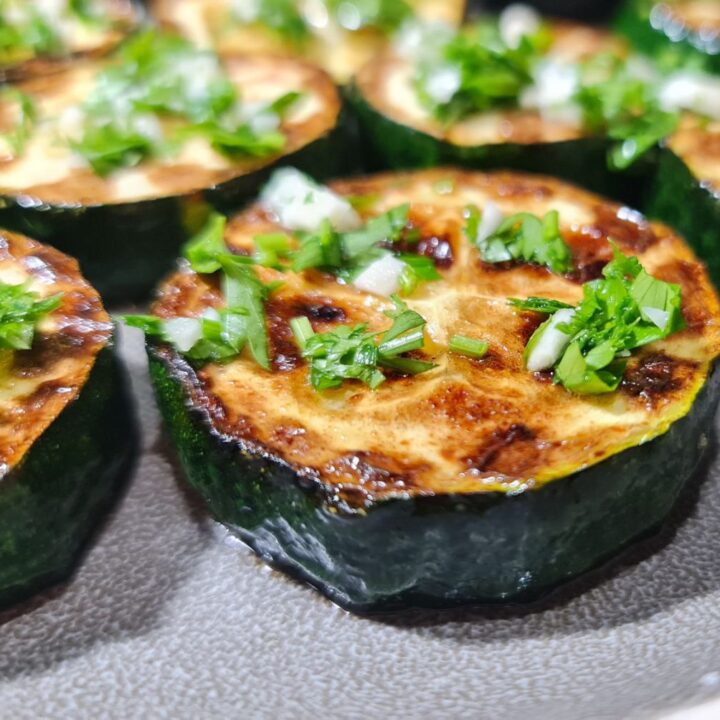
This Garlic Zucchini recipe is a simple, flavorful, and perfect summer dish. Fresh zucchini slices are lightly salted and fried to golden perfection, then topped with a zesty mixture of garlic, parsley, and lemon juice. This dish is easy to prepare and can be enjoyed as a side dish, appetizer, or part of a larger meal. Perfect for showcasing the best of summer’s bounty!
Ingredients
- 1-2 medium-sized zucchinis
- 2 cloves of garlic
- Salt to taste
- 2 tablespoons of olive oil
- Fresh parsley, chopped
- A splash of lemon juice
Instructions
- Rinse the zucchinis under cold water and pat them dry with a clean towel.
- Cut the zucchinis into thick circles, about 1/2 inch thick. Thicker slices help retain the juiciness of the zucchini.
- Lightly sprinkle salt over both sides of the zucchini slices and let them sit for about 5-10 minutes.
- In a large frying pan, heat 2 tablespoons of olive oil over medium-high heat.
- Once the oil is hot, add the zucchini slices in a single layer. Be careful not to overcrowd the pan; fry in batches if necessary.
- Fry the zucchini slices for about 2-3 minutes on each side, or until they are golden brown.
- Remove the fried zucchini from the pan and place them on a paper towel-lined plate to drain any excess oil.
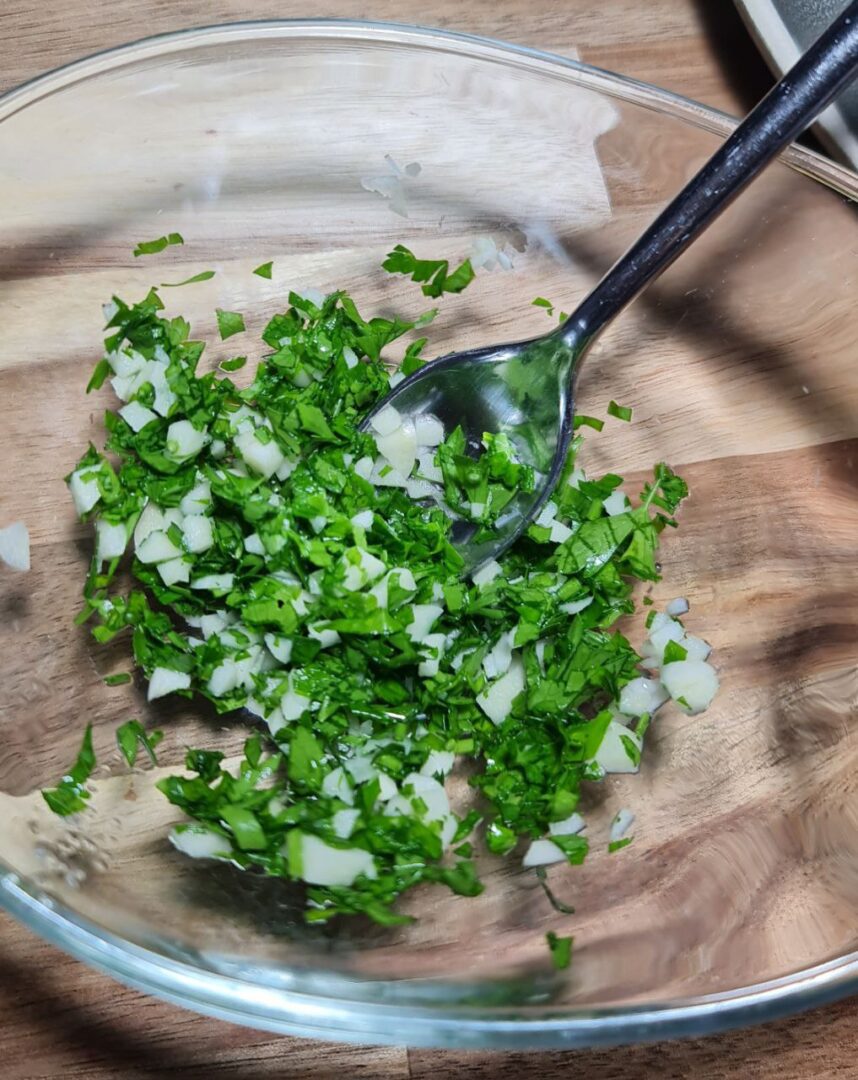
- While the zucchini is frying, finely chop 2 cloves of garlic and a handful of fresh parsley.
- In a small bowl, combine the chopped garlic and parsley with a splash of lemon juice. Mix well.
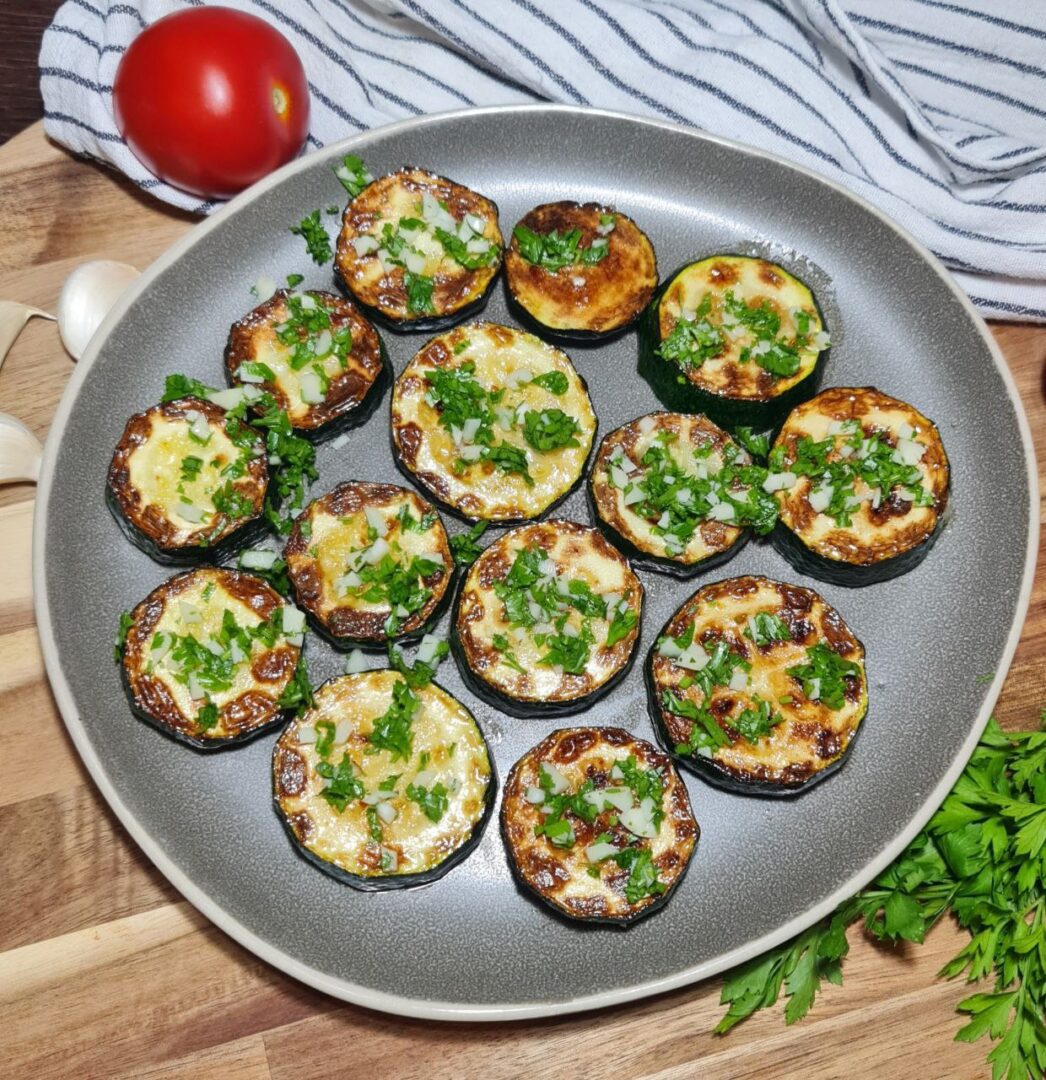
- Place the fried zucchini slices on a serving platter, arranging them in an even layer.
- Spoon the garlic-parsley mixture evenly over the zucchini slices.
- Add a pinch of salt if needed to taste.
- Serve the garlic zucchini warm or at room temperature. It can be enjoyed as a side dish, appetizer, or part of a larger meal.
- For an extra touch, garnish with additional chopped parsley or a lemon wedge.
Notes
- For the best texture and flavor, select firm, fresh zucchinis with a vibrant green color and no blemishes. Fresh produce will enhance the overall taste of your dish.
- To keep the flavors fresh and vibrant, add the garlic-parsley mixture to the fried zucchini just before serving. This helps maintain the aromatic qualities of the garlic and the brightness of the parsley and lemon juice.

