One of my go-to fall dishes that I’ve been preparing often for my family lately is Roasted Butternut Squash with Garlic and Parsley. This dish is a true fall favorite, offering the perfect blend of sweetness from the squash, savory notes from the garlic, and a pop of freshness from the parsley garnish. It’s simple to make, incredibly versatile, and a guaranteed crowd-pleaser at any meal. Whether you’re enjoying it as a side dish or incorporating it into a larger meal, this recipe embodies the flavors of fall in every bite.
In our household, roasted butternut squash has become a staple during the cooler months. Its earthy sweetness pairs beautifully with the robust flavors of olive oil and garlic, creating a dish that’s both comforting and nourishing. Plus, it’s easy to make in large batches, making it perfect for family dinners or gatherings with friends. Not only is it delicious, but it’s also packed with nutrients, making it a healthy addition to any meal. Let’s dive into why you’ll love this recipe, and how to make the perfect roasted butternut squash every time!
Why You Will Love This Recipe
There are so many reasons to love this Roasted Butternut Squash recipe, especially if you’re a fan of easy, healthy, and flavorful dishes:
- Simple Ingredients: With just a few basic ingredients like butternut squash, olive oil, garlic, salt, pepper, and parsley, you can create a dish that’s bursting with flavor. The minimal ingredient list also makes it easy to whip up, even on busy weeknights.
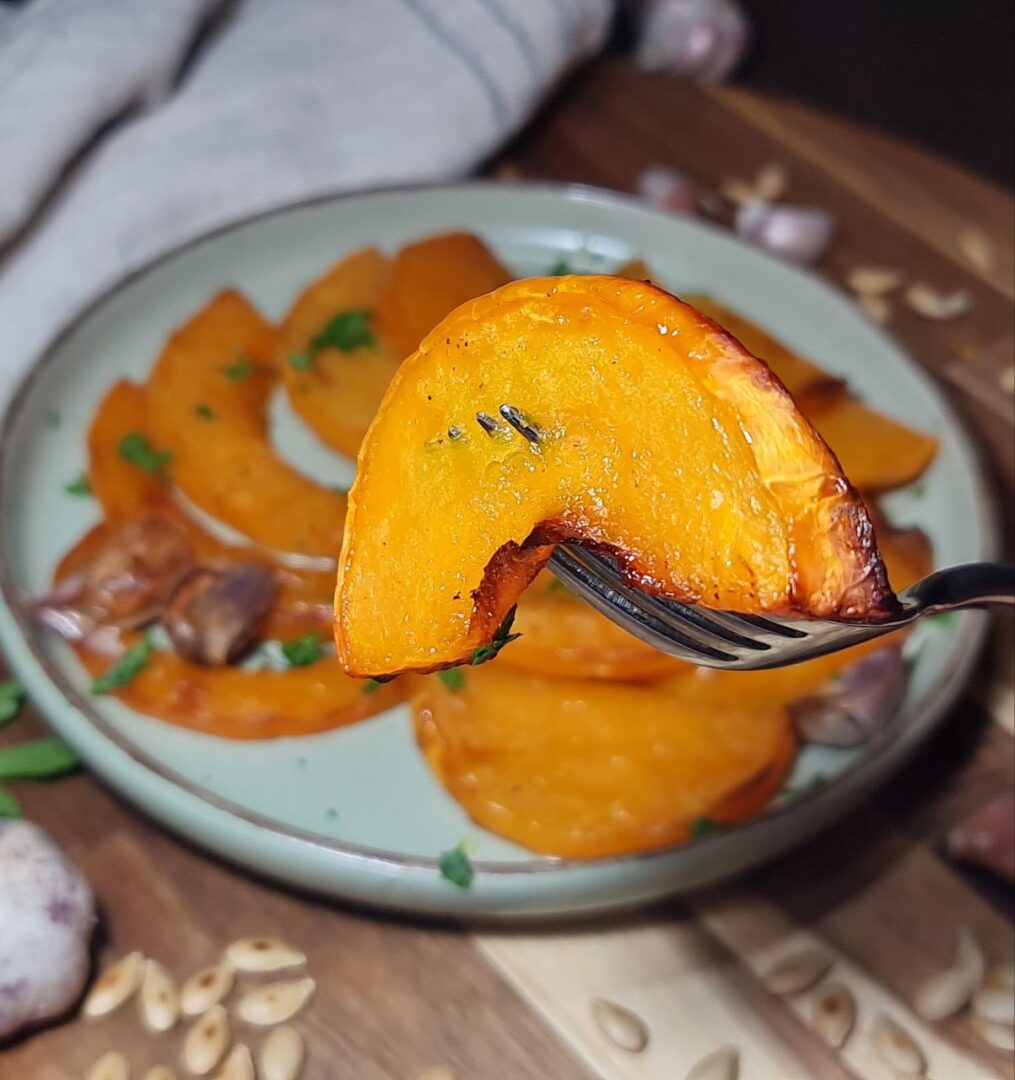
- Perfect for Fall: Butternut squash is a quintessential fall ingredient. Its sweet, nutty flavor and vibrant orange color make it the star of autumn dishes. Roasting it brings out its natural sweetness and creates a tender, caramelized texture.
- Naturally Vegan & Gluten-Free: This recipe is naturally vegan and gluten-free, making it a great option for anyone with dietary restrictions. It’s a healthy, plant-based dish that everyone can enjoy.
- Versatile: While it’s delicious on its own, this roasted butternut squash pairs well with a wide variety of dishes. Serve it alongside grains, salads, or protein-rich vegan dishes to create a balanced and satisfying meal.
- Crowd-Pleaser: Whether you’re cooking for your family, friends, or a holiday gathering, this dish is always a hit. The combination of roasted garlic and squash is a flavor pairing that’s hard to resist.
- Easy to Make Ahead: You can easily roast a large batch of butternut squash and store it for later. It reheats beautifully, making it an ideal dish for meal prep or leftovers.
Ingredient Notes
Here’s a closer look at the key ingredients that make this recipe shine:

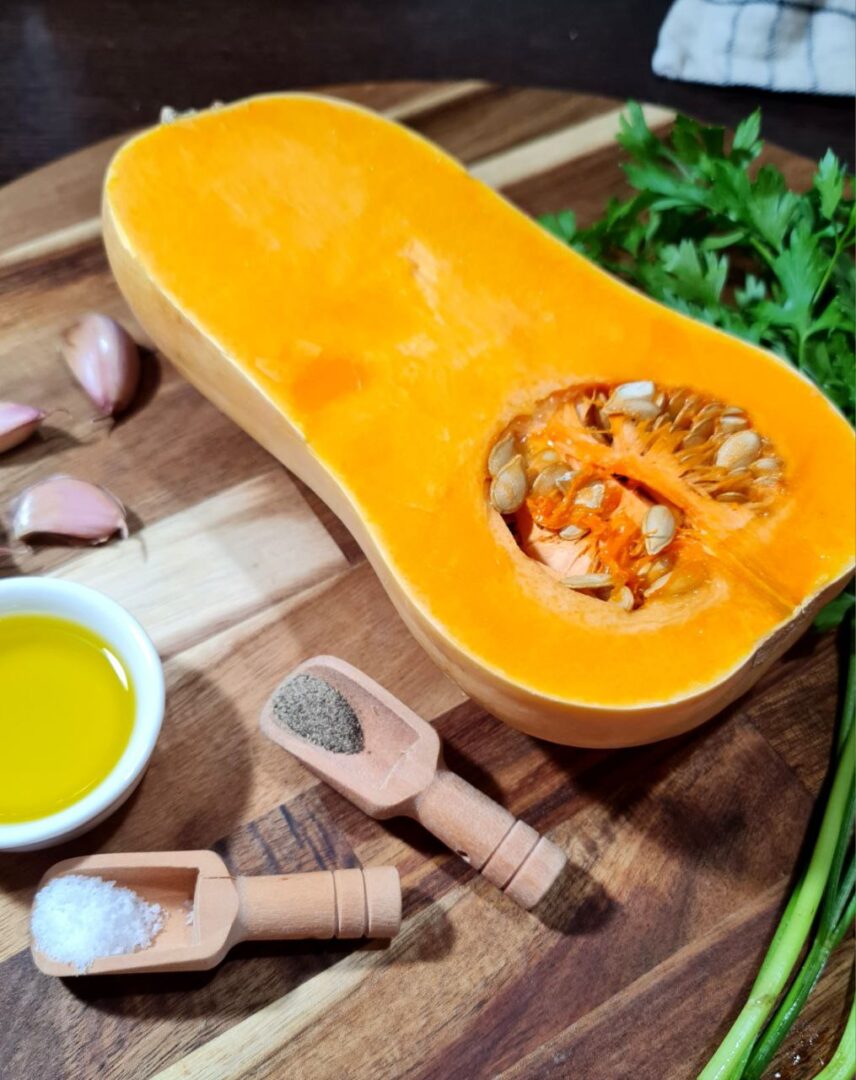
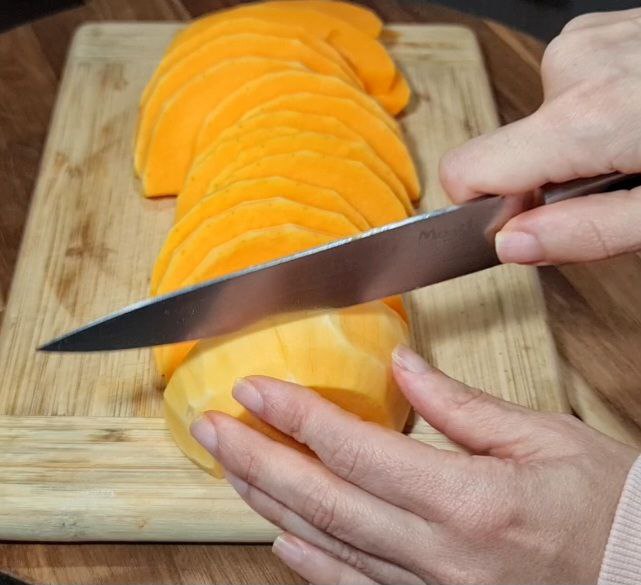
- Butternut Squash: The star of the dish! Butternut squash has a naturally sweet flavor that intensifies when roasted. Make sure to choose a medium-sized squash, as larger ones may take longer to cook. When peeling and slicing, try to keep the slices even in size for even roasting.
- Olive Oil: Olive oil adds a rich, savory flavor and helps the squash caramelize as it roasts. It also ensures that the squash doesn’t dry out during cooking.
- Garlic: Roasted garlic brings a deep, aromatic flavor to this dish. Smashing the cloves allows the garlic to release its flavor while preventing it from burning. You can also chop the roasted garlic and toss it with the squash before serving for an extra garlicky kick.
- Salt & Pepper: Simple seasonings that enhance the natural flavors of the squash. Feel free to adjust the amount to your taste.
- Parsley: Fresh parsley adds a bright, herbal note that balances out the richness of the roasted squash and garlic. It also adds a pop of color, making the dish visually appealing.
Tips for Making the Best Roasted Butternut Squash
Achieving perfectly roasted butternut squash is all about technique. Here are a few tips to ensure your squash comes out perfectly caramelized and tender every time:
- Cut Even Slices: When slicing the squash, aim for even, 1/2-inch thick slices. This ensures that the squash cooks evenly and avoids any pieces being undercooked or overcooked.
- Use Enough Oil: Don’t skimp on the olive oil! A good coating of oil helps the squash caramelize and develop that delicious crispy exterior. It also prevents the squash from sticking to the baking sheet.
- Space Out the Squash: Spread the squash slices out in a single layer on the baking sheet. Overcrowding the pan will cause the squash to steam rather than roast, which means you’ll miss out on that beautiful caramelization.
- Flip Halfway Through: For even browning, flip the squash slices halfway through the roasting time. This ensures both sides get crispy and golden.
- Roast at High Heat: Roasting at 400°F (200°C) ensures the squash cooks through while developing a caramelized, slightly crispy exterior. Lower temperatures may result in softer, less flavorful squash.
- Add the Garlic Whole: Keeping the garlic cloves whole and smashed helps infuse the dish with flavor without burning the garlic. If you prefer a more intense garlic flavor, chop the roasted garlic before serving and mix it in with the squash.

Vegan Serving Suggestions and Pairings
This Roasted Butternut Squash with Garlic and Parsley is incredibly versatile and can be served in a variety of ways. Here are a few vegan serving suggestions and pairings to complement the dish:
- Salads: Toss the roasted butternut squash into a hearty fall salad with mixed greens, quinoa, cranberries, and a light balsamic vinaigrette. The sweet and savory flavors of the squash work beautifully in salads.
- Grain Bowls: Pair the roasted squash with grains like quinoa, farro, or brown rice. Add some sautéed greens, roasted chickpeas, and a drizzle of tahini or lemon-tahini dressing for a nourishing grain bowl.
- Vegan Main Dishes: Serve the squash as a side to vegan mains like lentil loaf, stuffed bell peppers, or grilled tofu. It adds a touch of sweetness and texture to these savory dishes.
- Tacos or Wraps: Add the roasted butternut squash to vegan tacos or wraps for an unexpected burst of flavor. Pair it with black beans, avocado, and a sprinkle of vegan cheese for a hearty meal.
Storing Roasted Butternut Squash
If you have leftovers, roasted butternut squash stores beautifully for later meals. Here’s how to store it properly:
- Refrigerating: Place the cooled roasted squash in an airtight container and store it in the refrigerator for up to 4 days. Reheat it in the oven or on the stovetop to restore its crispy texture.
- Freezing: You can freeze roasted butternut squash by spreading the pieces in a single layer on a baking sheet and freezing until solid. Transfer the frozen squash to a freezer-safe bag or container and store for up to 3 months. When ready to eat, reheat in the oven straight from frozen.
Frequently Asked Questions about Roasted Butternut Squash
- Can I use other types of squash? – Absolutely! You can substitute butternut squash with other varieties like acorn squash, kabocha squash, or even sweet potatoes. Keep in mind that different squashes may have slightly different roasting times.
- Can I make this recipe oil-free? – Yes, you can make it oil-free by omitting the olive oil, though the squash may not caramelize as much. Try tossing the squash with a small amount of vegetable broth or water to keep it from sticking to the baking sheet.
- Can I add spices or herbs? – Definitely! Feel free to add spices like cinnamon, paprika, or cumin to the squash before roasting. You can also experiment with different fresh herbs like thyme or rosemary for added flavor.
- What other garnishes can I use? – In addition to parsley, you can garnish the roasted squash with toasted nuts, pomegranate seeds, or a drizzle of balsamic glaze for extra texture and flavor.

Equipment Needed for Roasted Butternut Squash
Here’s the basic equipment you’ll need to make this roasted butternut squash:
- Sharp Knife: For peeling and slicing the squash.
- Cutting Board: To safely chop the squash and garlic.
- Baking Sheet: A large baking sheet to spread out the squash for even roasting.
- Spatula or Tongs: For flipping the squash halfway through roasting.
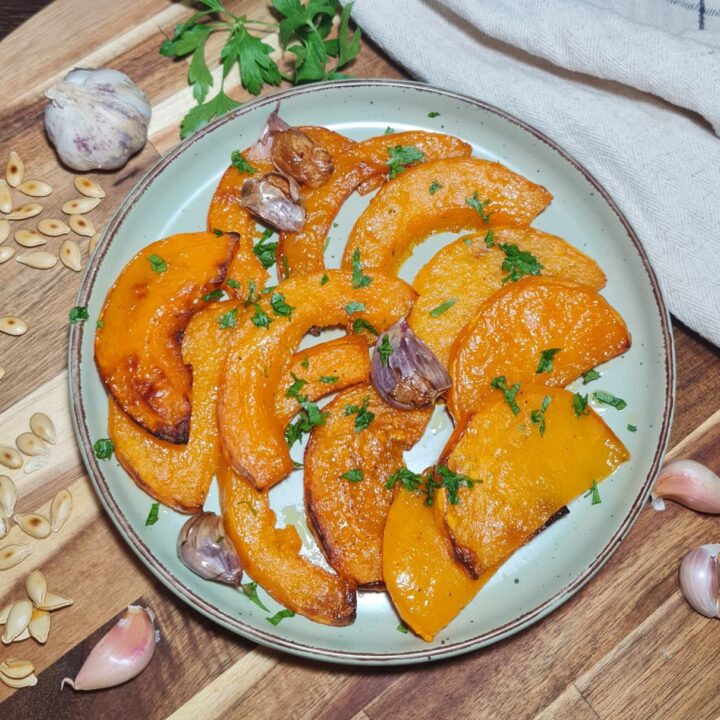
This Roasted Butternut Squash with Garlic and Parsley recipe is the perfect way to embrace the flavors of fall. Whether you’re making it for a family dinner, holiday gathering, or meal prep, this simple yet flavorful dish is sure to become a favorite. With its crispy edges, tender interior, and aromatic garlic, it’s a recipe you’ll want to make again and again. Plus, it’s naturally vegan, gluten-free, and incredibly versatile, making it a dish everyone can enjoy.
Have you tried this roasted butternut squash recipe? I’d love to hear how it turned out for you! Feel free to leave a comment below with your thoughts or any variations you’ve tried. Do you have a favorite way to serve roasted butternut squash? Share your ideas with the community!

Roasted Butternut Squash
This roasted butternut squash with garlic and parsley is the perfect fall side dish! It's easy to make, naturally vegan and gluten-free, and bursting with caramelized flavor.
Ingredients
- 1 medium butternut squash, peeled, seeds removed, and sliced into 1/2-inch pieces
- 3 tablespoons olive oil
- Salt and pepper, to taste
- 3 cloves of garlic, whole and smashed
- Fresh parsley, chopped (for garnish)
Instructions
- Preheat your oven to 400°F (200°C) and line a baking sheet with parchment paper or lightly oil it to prevent sticking.
- After peeling and slicing the butternut squash, place the slices in a large mixing bowl. Drizzle with olive oil and season generously with salt and pepper. Toss until the squash is evenly coated.
- Smash the garlic cloves gently with the flat side of a knife (keeping them whole) and add them to the baking sheet with the butternut squash slices.
- Spread the squash slices and garlic evenly on the prepared baking sheet, making sure they aren't overlapping for even roasting. Place the baking sheet in the preheated oven and roast for 25-30 minutes, or until the squash is tender and slightly caramelized at the edges. Flip the slices halfway through for even browning.
- Once roasted, remove the squash from the oven. Garnish with freshly chopped parsley for a burst of color and freshness. Serve warm.
Notes
- Ensure the squash is sliced into even pieces so they cook uniformly and caramelize perfectly.
- Spread the squash out on the baking sheet to avoid steaming and ensure crisp, golden edges.
- For evenly roasted and crispy squash, flip the slices halfway through roasting for best results.
MORE DELICIOUS RECIPES TO TRY:

